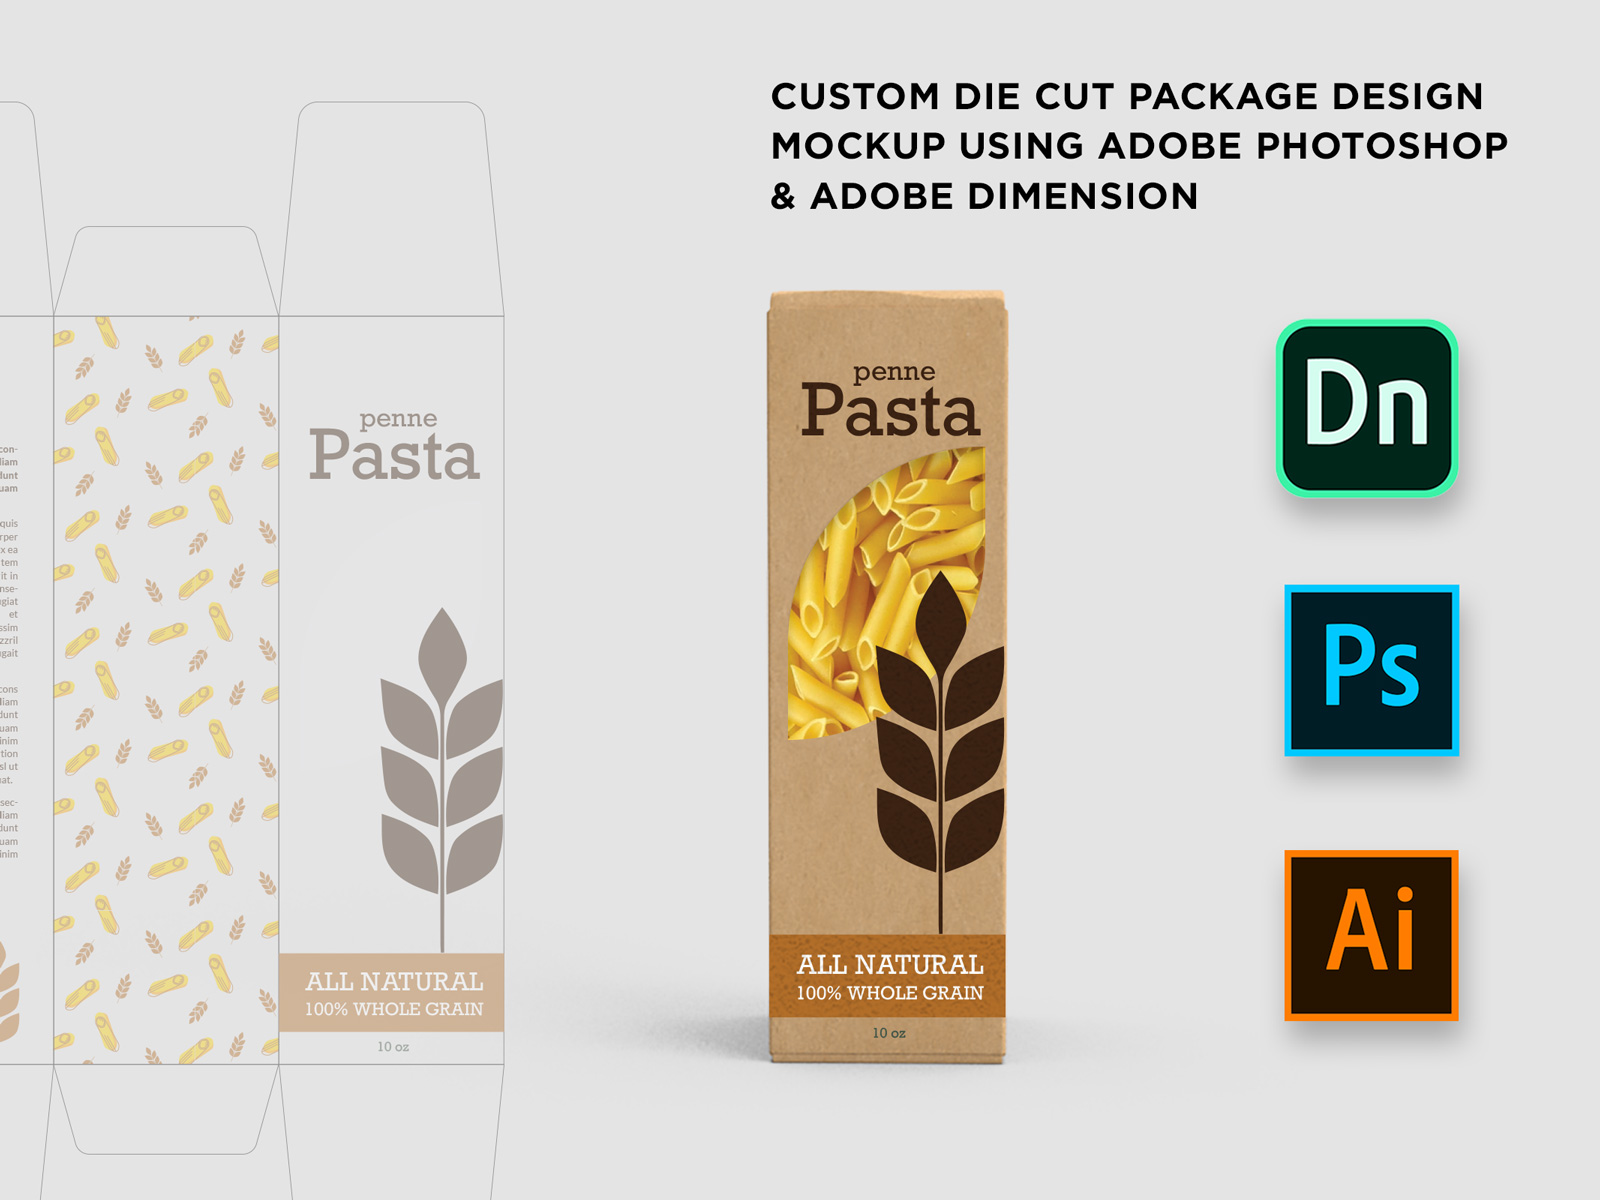
This video covers a few methods for achieving a custom die-cut package design mockup using Adobe Photoshop and Adobe Dimension.
In order of efficiency:
1:19 Method 1 – Render the die-cut / window (pasta appearance) as part of the entire graphic decal placed on the 3D object in Adobe Dimension (Low-moderate quality)
5:56 Method 2 – Render the scene and object without the die-cut; create the appearance of the die-cut in Photoshop. (Best quality)
13:23 Method 3 – Create multiple (.obj) parts for the die-cut (e.g. a separate window pane to place a decal (only way to place more than one decal) or to give a material effect)


