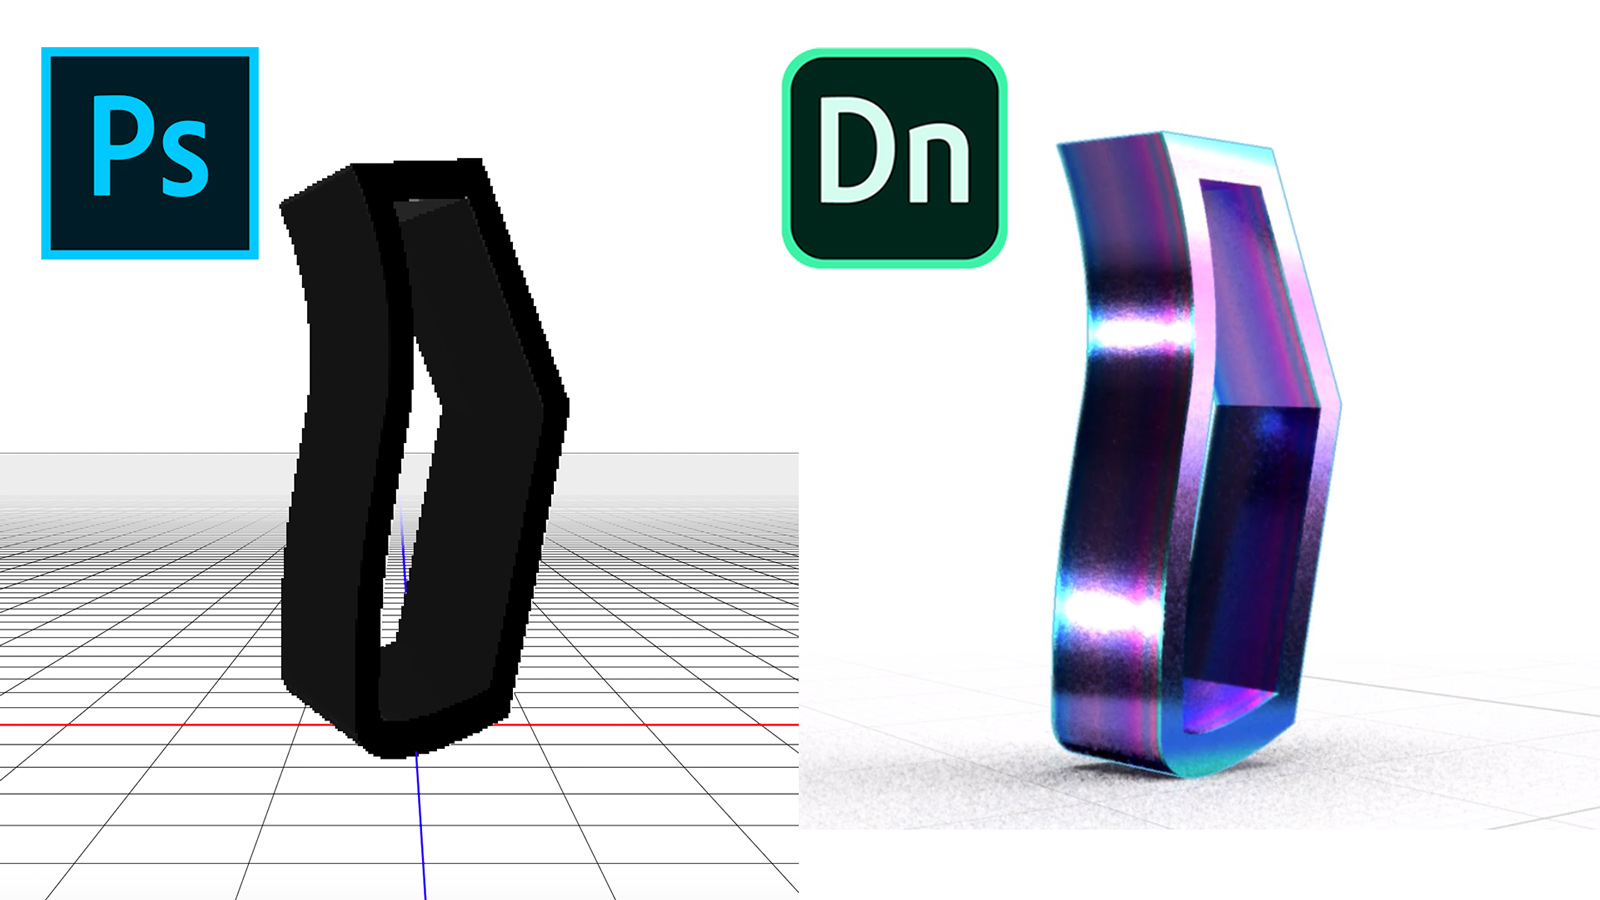
This is a brief and to-the-point process video for designers who are unfamiliar with 3D software and looking for a tool to mock up scenes and graphic design. Adobe Dimension is a simpler interface and consistent with its series of Illustrator and Photoshop programs versus having to learn a new 3D interface and shortcuts. If you already know how to use a 3D program, then please skip this video. You’ll get a much better quality rendering from a 3D program if you’re savvy with those tools. This is not intended to show a polished work of art.
0:00 Draw a custom shape with the pen (P) tool in Photoshop
1:00 Go to 3D, New 3D Extrusion from Selected Layer
1:23 Use the first preset to extrude the object
1:43 If you need to edit Stroke/Fill, click the Edit Source button
2:20 Export 3D layer as .OBJ by going to 3D, Export 3D Layer
2:46 In Dimension, import your .OBJ (drag and drop or File, Import)
2:52 ‘F’ key will center your imported object into view
2:58 The properties panel will allow you to customize specific dimensions (proportionately with the lock) or each axis independently


