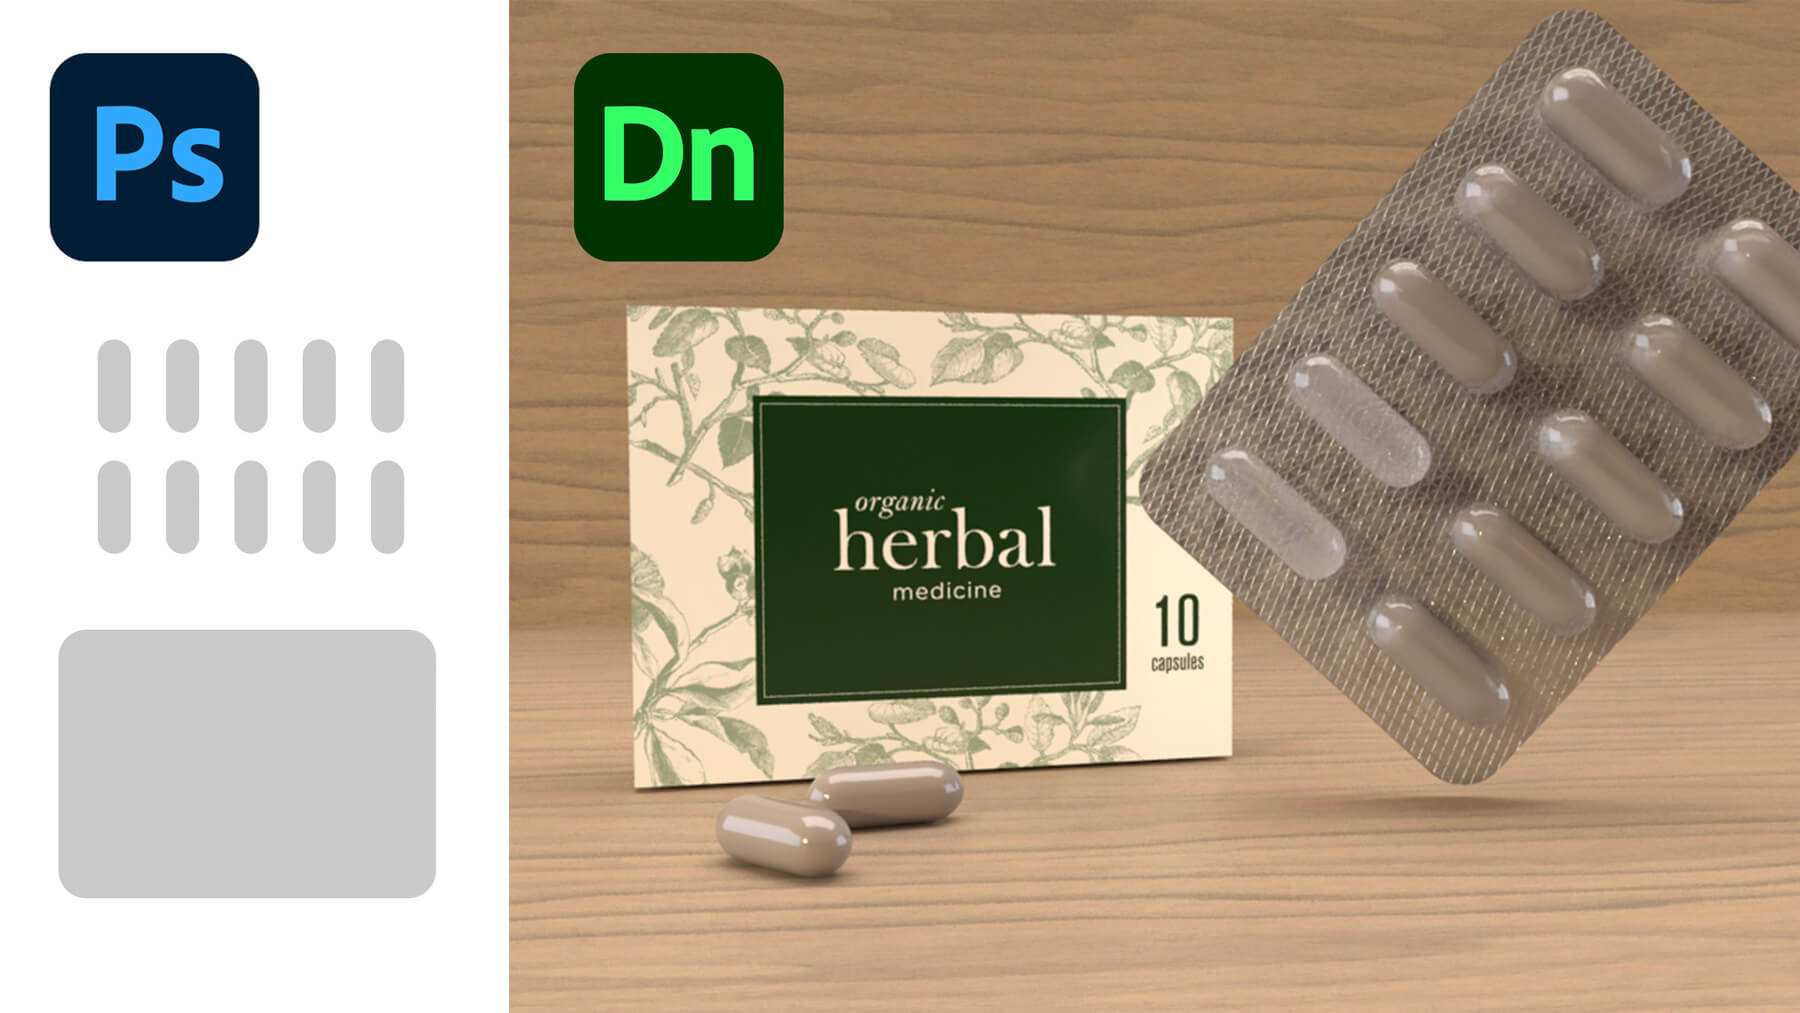
Learn how to create a 3D blister pack from start to finish in this easy-to-follow video. We will construct the shapes and make them 3D in Adobe Photoshop and finish adding color and textures in Adobe Dimension.
This video is for designers who are unfamiliar with 3D software and looking for a tool to mock up scenes and graphic design. Adobe Dimension is a simpler interface to use and consistent with its series of Illustrator and Photoshop programs versus having to learn a new 3D interface and shortcuts. If you already know how to use a 3D program, then please skip this video. Although rendering in Dimension is improving, you’ll likely get a higher quality rendering from a 3D program.
Table of Contents
0:00 Start with a good reference
0:25 Begin creating the clear capsule holders
2:29 Create the foil back
3:42 Merge 3D object layers
4:15 Group objects to scale and align them with respect to one another
5:04 Method 1 for drawing the box
6:20 Method 2 for a box with thickness
8:20 Export 3D layers as .OBJ
8:38 Clean up extra texture files saved upon export
8:52 Open the .OBJ in Dimension
9:40 Set up the scene presentation
9:50 Start adding materials/graphics/decals
12:40 Tip for applying your design to sides of the box/objects in general
13:10 Render results and scene, discussing updates after test rendering
Renders were generated as Medium Quality PNG files.
Please like the video and subscribe to receive future video updates! Thank you.


