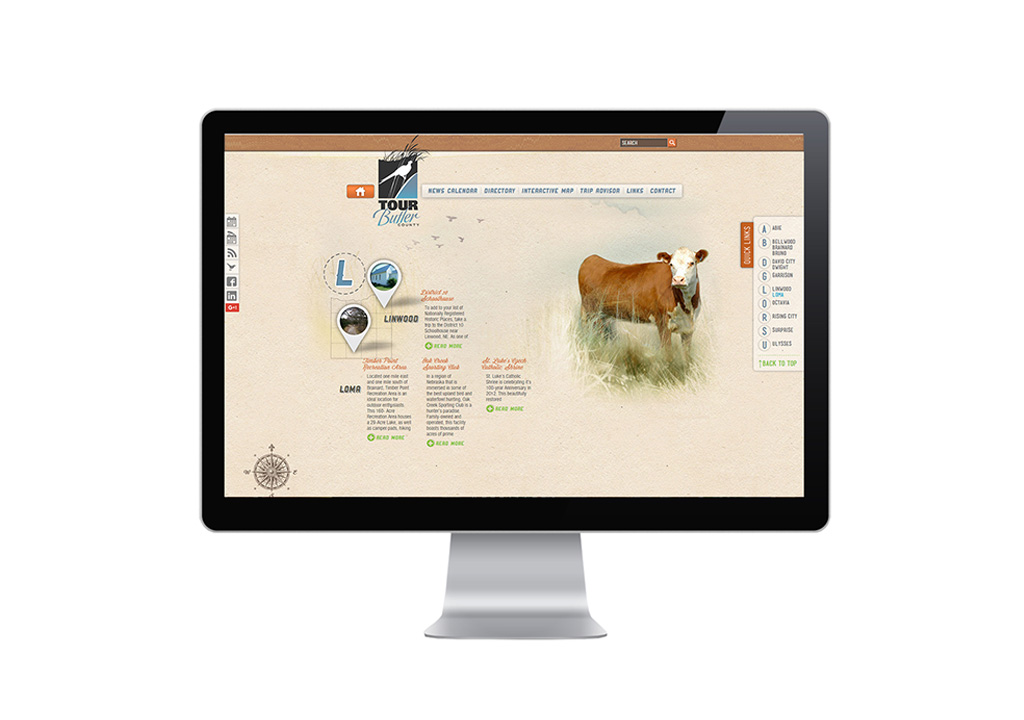
What We’ll Cover in the Google Maps with Multiple Markers Tutorial
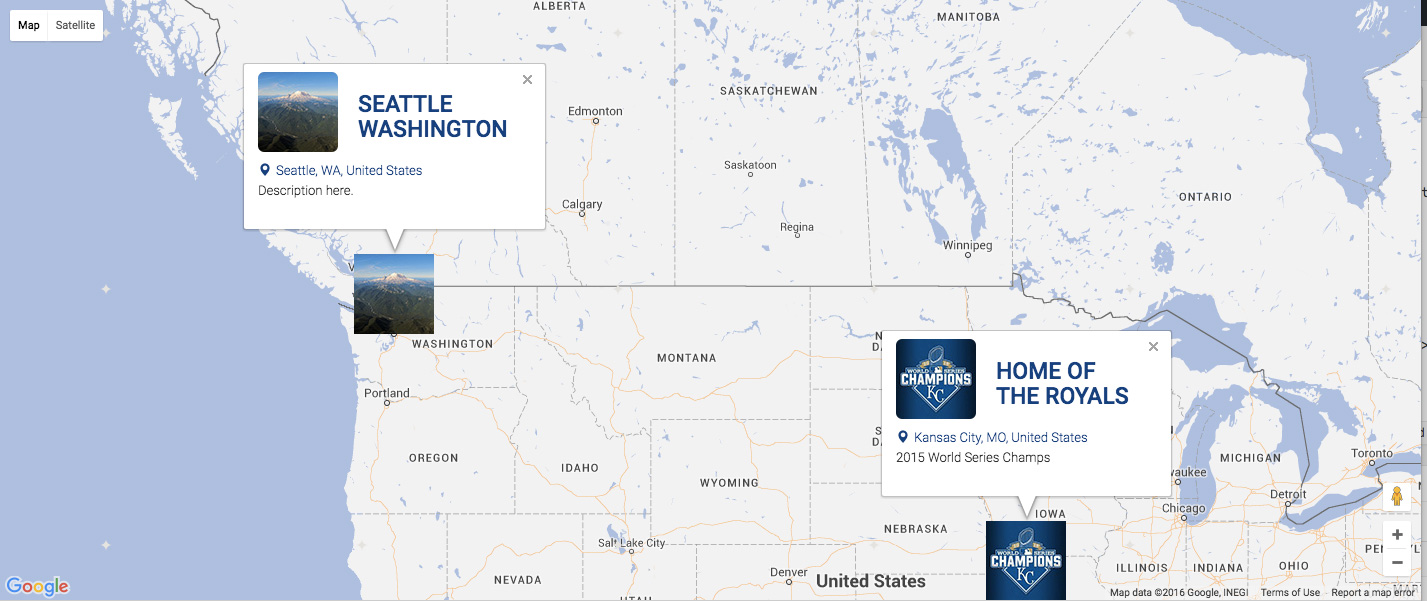
- Custom script to render the google map with unique thumbnail markers and a detailed/custom information box upon click
- Custom WordPress page template to populate Google Maps with multiple markers
- Custom WordPress functions to generate image sizes and enqueue scripts
- Custom CSS to style map and markers
I am going to assume you have WordPress installed and the ACF plugin. This tutorial uses:
- WordPress (CMS)
- Google Maps API
- Advanced Custom Fields (PRO optional)
- Bootstrap 3 (optional)
- Snazzy Maps (optional)
Google Maps *Update 7/12/16*
Changes have been made to the Google Maps API plugin. You may now be required to generate and API key with your Google account. Please refer to the following articles to generate and set your Google Maps API keys.
Make A WordPress Page Template
Make a new folder within your theme called page-templates and add a new php file google-map.php with the following code. (When you start adding more page templates, this is a good way to organize them.)
Make a Page in WordPress with the New Template
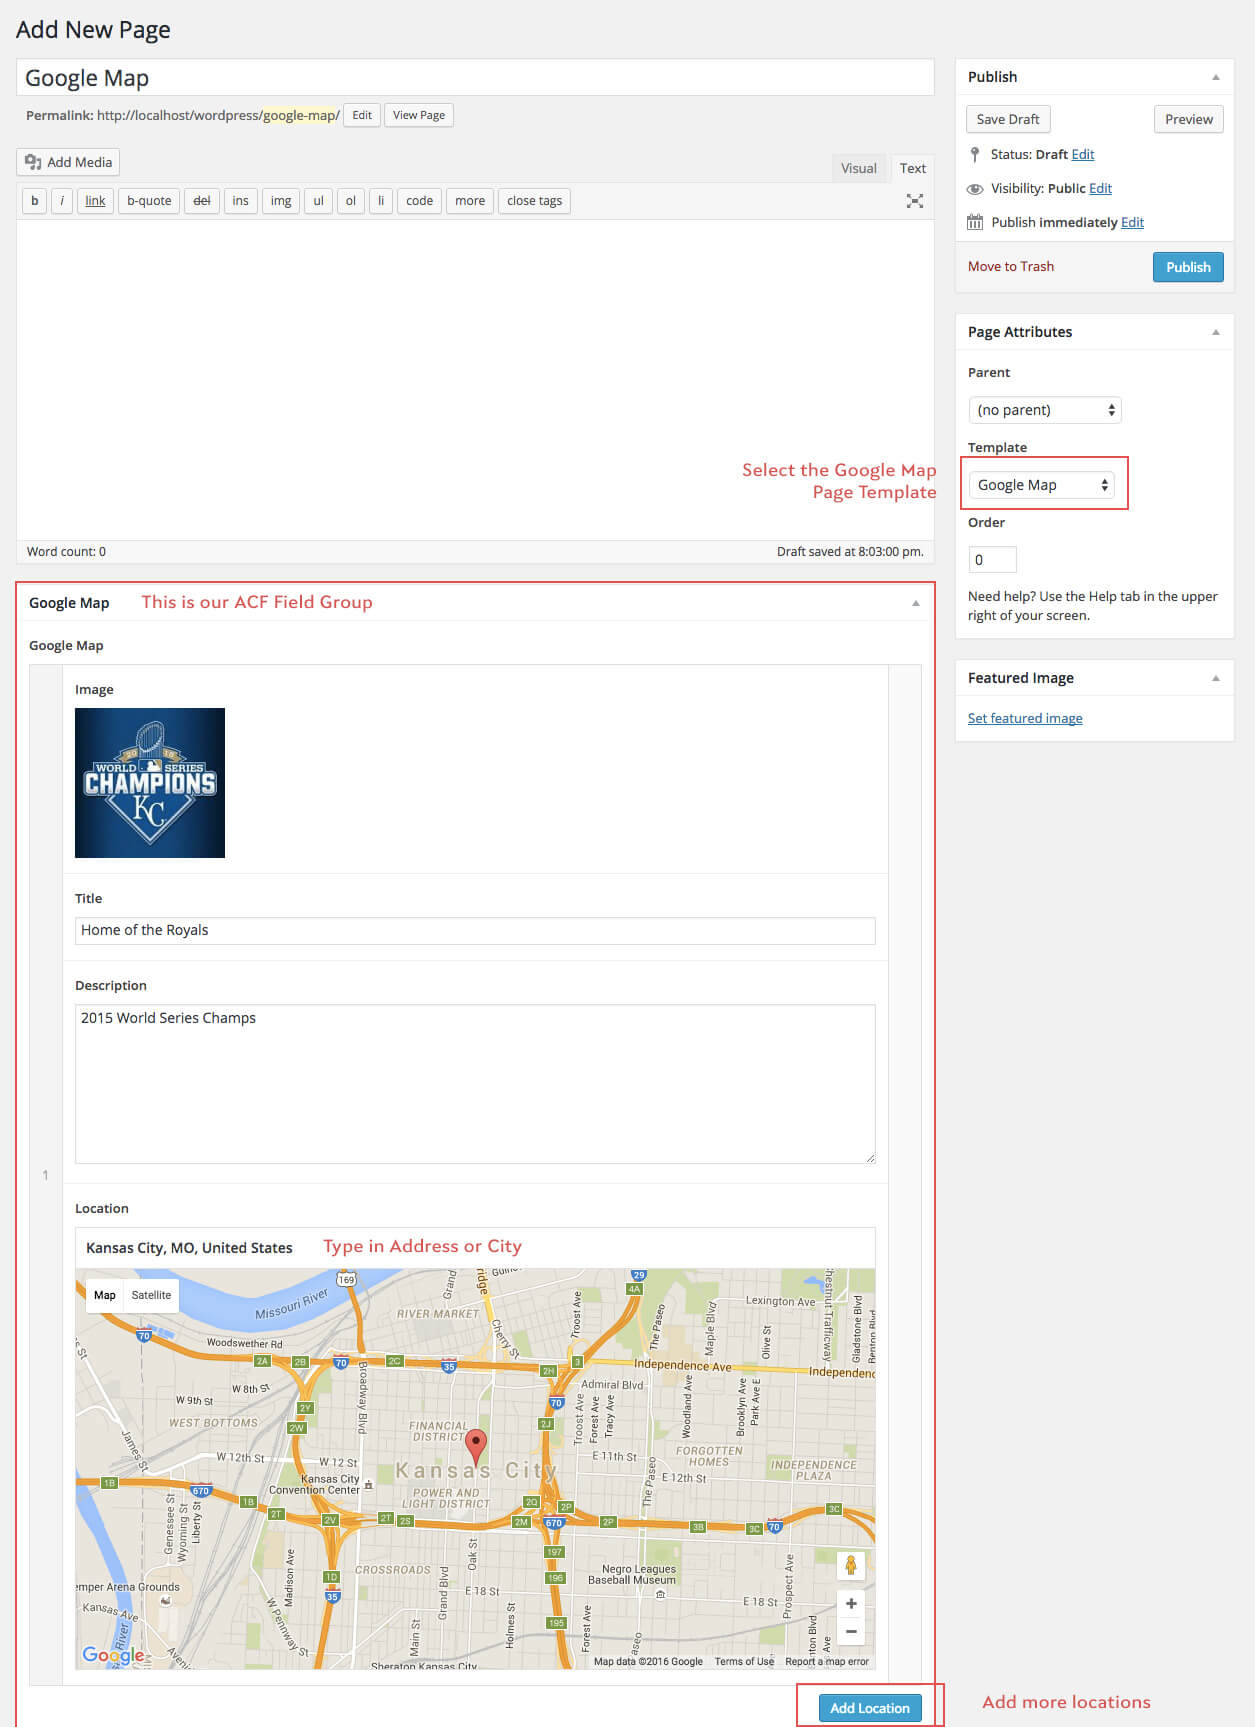
Make a new page and select the Google Map page template. Once the template is selected, the Google Map field group will load below the WYSIWYG editor (unless specified to display elsewhere).
Using Advanced Custom Fields (ACF)
Advanced Custom Fields is by far one of the best and my favorite WordPress plugins. I highly recommend purchasing the PRO version. (Note: I am using the PRO repeater field in this example, but I plan to update this for non-PRO users) You can purchase a one-time single ($25) or developer license ($100). I promise – it’s worth it!
If you’d like to render only one marker on a map or review the documentation for the Google map field, here’s an overview.
Create a Google Map ACF Field Group
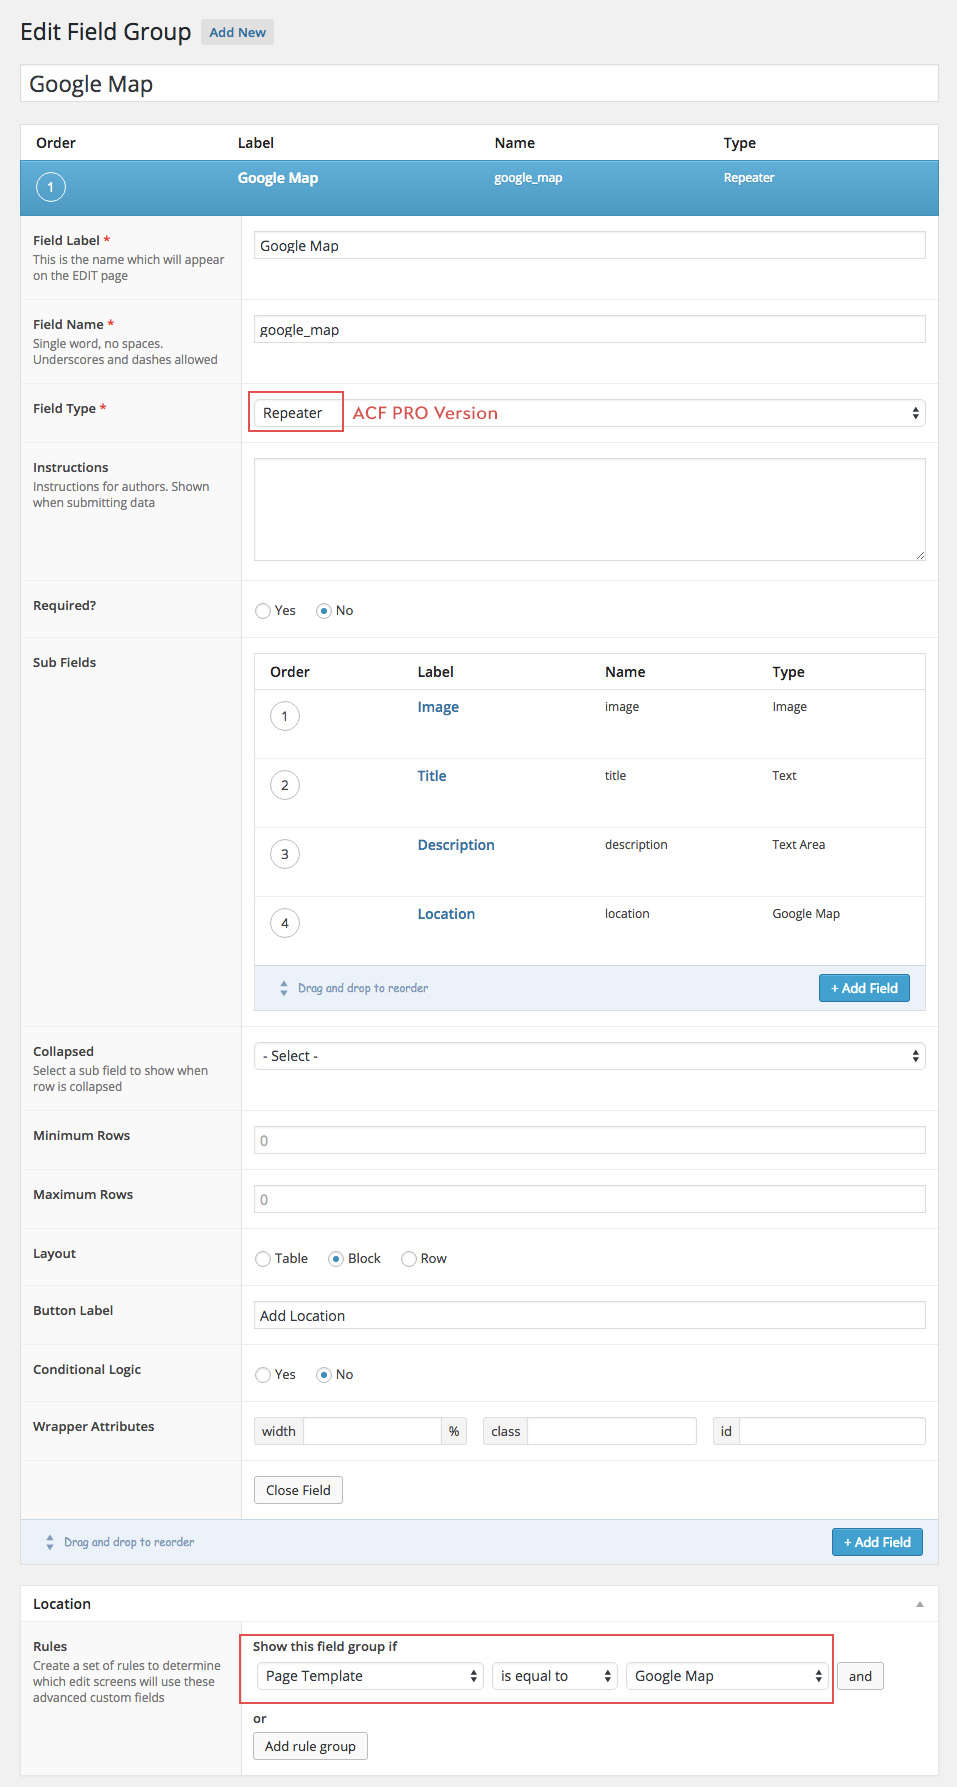
This example uses the PRO Repeater field. I’ll have to update this for free ACF users. Make sure your Image sub field is an Image Array. Select the rule for your Google Map field group to show only on Google Map template pages.
Please donate to download the GitHub files & view the rest of this tutorial
[content_protector password=”ACF20″ cookie_expires=”{8 weeks}”]
Here’s the GitHub repository to download the files.
Google Maps with Advanced Custom Fields JavaScript
Make a new folder in your theme called js and add a new file acf-map.js with the following code.
Register and Enqueue Google Map Scripts
In functions.php, register the Google Maps API and the acf-map.js we just created. The following code shows how we’ll enqueue the Google Map scripts only on our page template.
Add Custom Image Sizes
In functions.php, Lines 3-4 adds an image size for WordPress to generate a smaller thumbnail for unique marker thumbnails to be generated on the map. You will also need to make sure your theme supports post thumbnails. Any new images uploaded will generate this custom image size automatically. Images already uploaded to your media library will need to be regenerated. I suggest using the plugin Force Regenerate Thumbnails.
ACF Map CSS
Add these styles to your style.css or make a new stylesheet and register and enqueue it respectively.
Customize Your Google Map with Styles
Using Snazzy Maps or another Google Map theme creator, copy the generated styles and replace the styles: on line 28 of acf-map.js. Here’s our final map.
You can change the width and height as you wish, in the ACF Group field or with CSS.
[/content_protector]
Enjoy your beautiful and complex Google Map! Please message me if this documentation left out any critical information.
If you liked this post and want to learn more about ACF, here’s another post.


