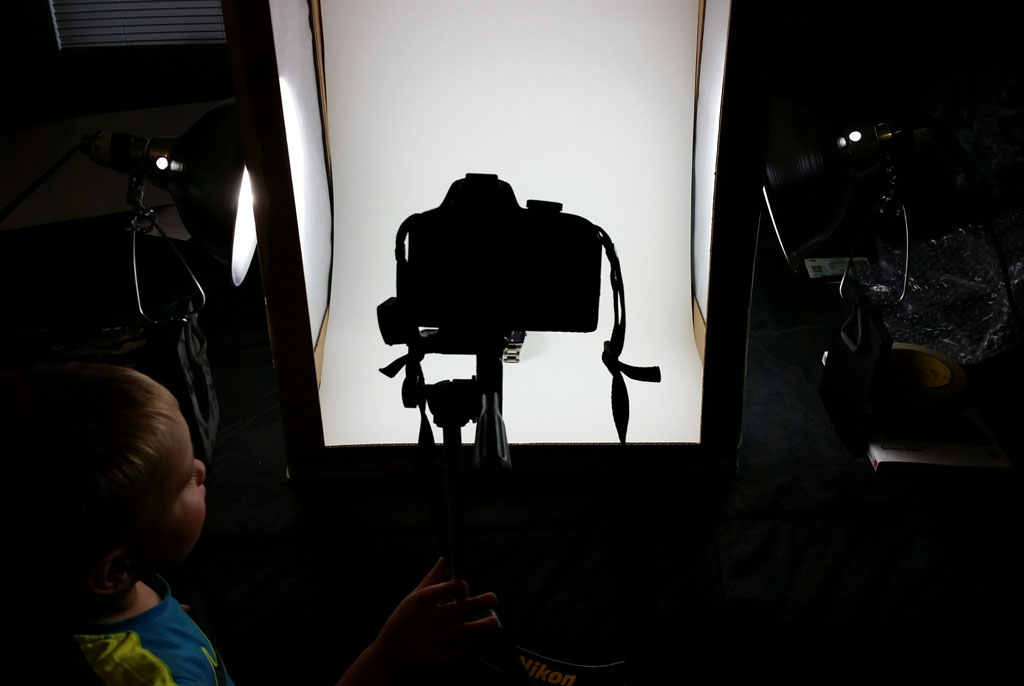
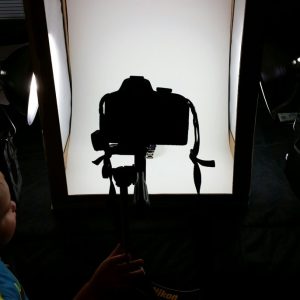
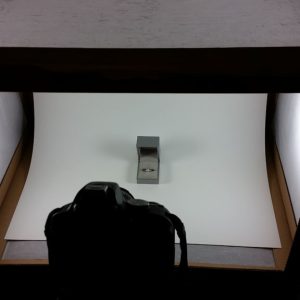
One of my newest clients has asked me to photograph a few of their products. This is actually something new, and I didn’t have a lighting kit or a light tent to diffuse and reflect light evenly. With some research online and a shopping trip for a few items, I was able to find what I needed. Light tents are fairly reasonably priced; although you can spend as much or as little as you want. Lighting kits on the other hand are expensive. I don’t tend to shoot a ton of photography, and I’m a do-it-yourself kind of person. Articles online recommended clamp lights for a cost-effective lighting setup.
Materials & Costs
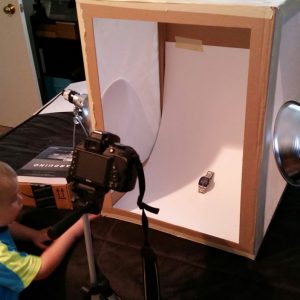
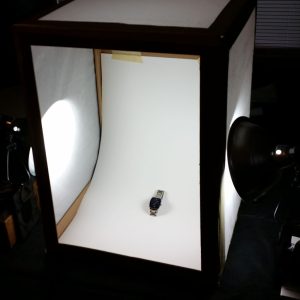
Here are the materials I used to build this 18×24″ rectangular light tent. Square might be more preferable, but this was what I happened to find and would allow for taller products, if needed.
- Large box (18×24″) – $1.32 (free if you already have a usable box)
- White poster board (I purchased 2 just in case) – $0.97/poster
- Translucent fabric – $4.15 for 2.5 yds (I used pelon; not sure this is the best, but it diffuses light; you could recycle a white sheet for free)
- 1½” Masking tape – $3.88 (free if you have it)
- 2 – Bayco 150-Watt Incandescent Portable Work Light – $8.47/lamp (at Lowe’s)
- 1 – Utilitech 2-Pack 23-Watt (100W Equivalent) 5,000K Daylight CFL Bulbs (at Lowe’s) – $7.48
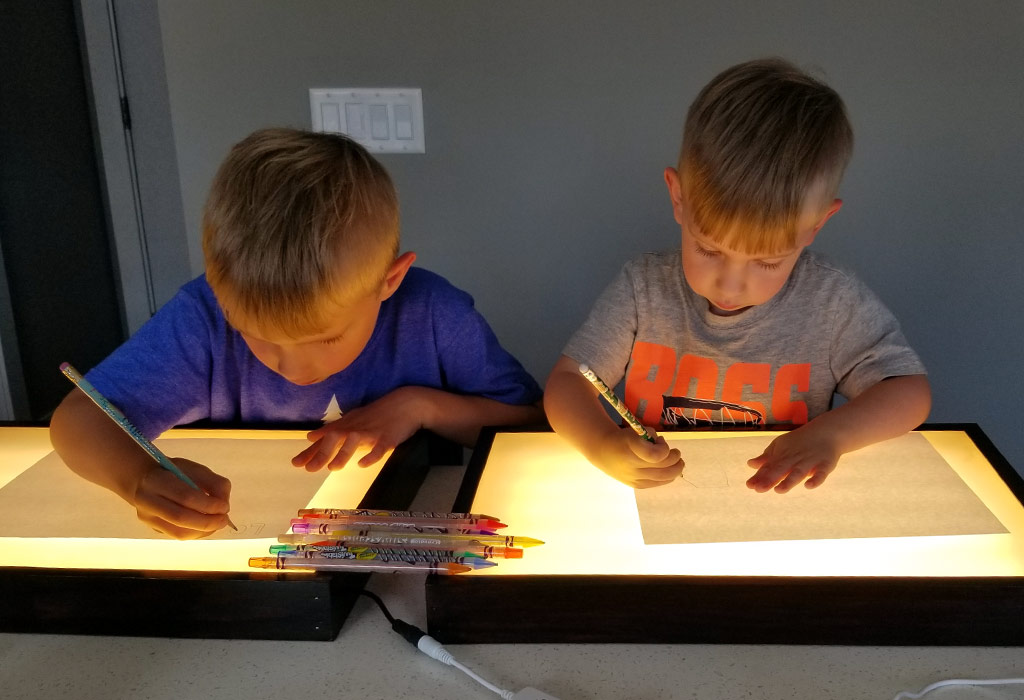
- Camera & setup crew assistant (my son) – will work for food
Setup
For a total of $35 (less if you already have some of these items on hand), you too can make a photography light tent. It was tricky to figure out what to clamp the lights onto. Some of the DIY tents are made of PVC pipe, which would possibly allow you to clamp to the frame.
Test Product Shots
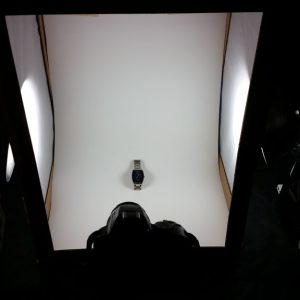
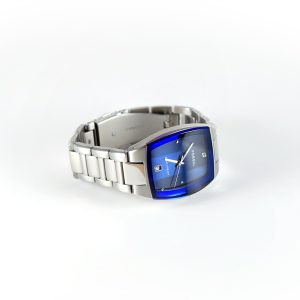
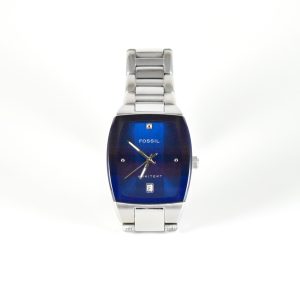
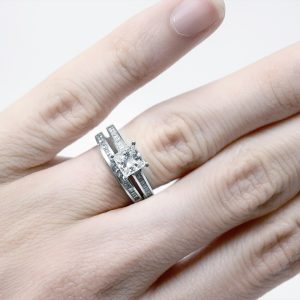
For this being my first time shooting product shots, I’m pretty happy with these quick test shots on manual mode with increased exposure and Photoshop edits. I used a tripod and Nikon D5500. It’s not a top of the line camera model by any means, but it’s the best for what I chose to invest. Let me know how yours turns out, if you decide to use this tutorial! *Additional tip from a photographer/videographer – get a 3rd light for the top. A photographer can never have too many lumens (Thanks, Michael!)


