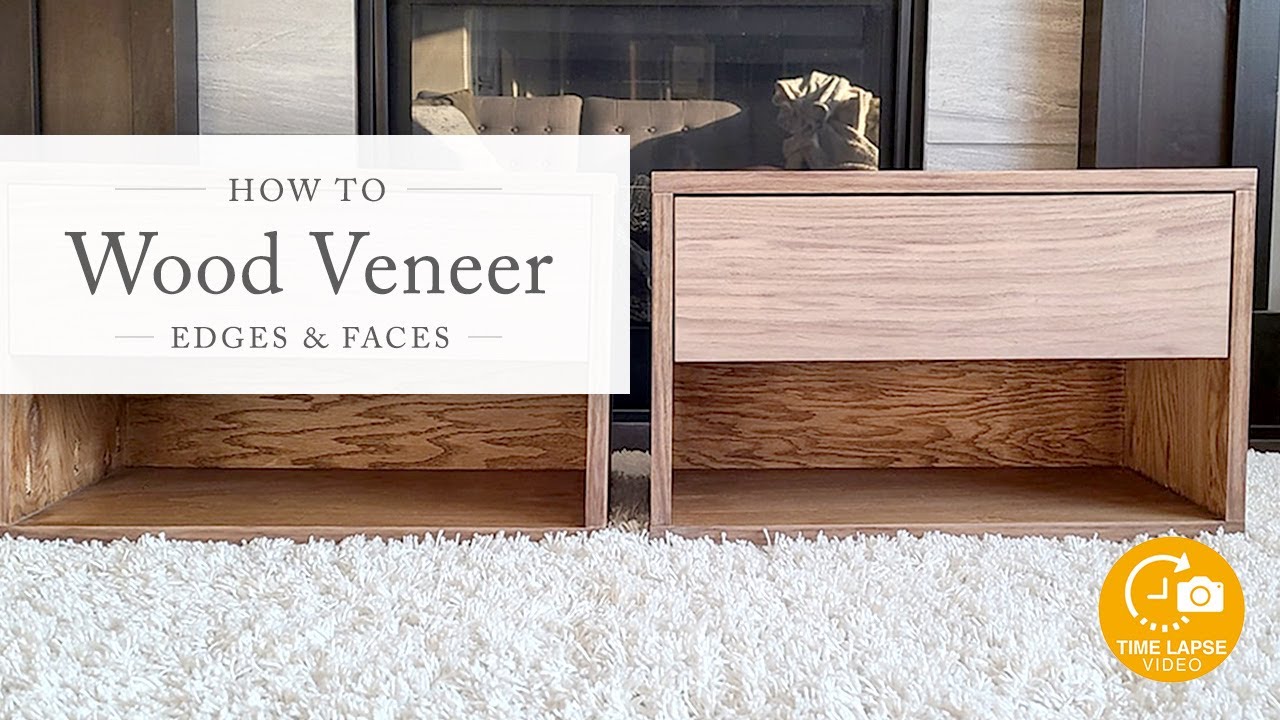
Process video of how to cut and install walnut edge band veneer and face veneer on a floating nightstand with a drawer.
Table of Contents
0:00 Measure & trim edge pieces (if you aren’t using a pre-cut & rolled edge band)
0:15 Apply titebond glue evenly across the substrate surface.
0:20 Work quickly but don’t worry if glue begins to dry a little — tackiness is desired.
0:23 Wipe away excess glue as soon as possible with a damp rag.
0:33 Use a roller to press down the veneer.
0:44 Carefully trim off excess edges with a sharp blade.
1:19 On intersecting edge pieces, work toward the first intersection
1:24 Cut with a 1/64″ overlap on the other end to account for wood expansion and contraction
2:00 Use a straight edge of a scrap wood block to firmly press, working in 6″ areas, to flatten the veneer to the substrate.
2:04 On larger faces, work from the center out to the edges.
2:07 Wipe the surface with a damp rag.
2:12 Use an iron on low to medium heat to press out bubbles.
2:22 Continue trimming, working, and sanding uneven corners and edges.
2:30 Return with the iron as needed, if bubbles re-appear.
Try not to wet the surface any more than needed. Wait a little while to sand if the veneer is wet.
Hope you enjoyed this time-lapse and learned about the process of veneering! This was my first veneer project. If you liked this video, please give it a thumbs up and subscribe for more videos like this. Thanks for watching!


