Lavender is a delightful, beautiful, and fragrant Mediterranean perennial flowering shrub that attracts butterflies and bees to your garden.
Growing lavender from seed can be rewarding and profitable if you want to sell the plants or create products from the flowers. Let’s get into the secret to successfully germinate lavender and a cost-effective soil recipe to get you started.
When to Start Lavender from Seed
In my experience living in the Midwest of the USA, a good time to start seeds is about January or February, so the sprouts can begin growing indoors until it’s warm enough to harden off outside, when the temperature stays above 40 degrees Fahrenheit.
Secret to Successful Lavender Germination
The secret to germinating lavender seeds with the highest success rate is through the process of stratification, which is a pre-germination technique subjecting the seeds to a freeze and thaw period to simulate winter.
To stratify your seeds:
- Place a wet paper towel on a plate – the towel should be thoroughly wet but drain any excessive water.
- Open a new packet of seeds and spread the seeds apart from one another on top of the paper towel
- Insert the plate into a ziplock bag sealing the bag
- Place the plate into the refrigerator in a place that will not be disturbed for the next 30 to 40 days.
Time to Germinate
After 30 to 40 days it’s time to start germinating. Take the plate from the refrigerator and place it in a warm, sunny window. Some of my seeds started germinating in only a day or two. Others took as long as two weeks or even longer.
Germination may depend on the age of the seed and the species of lavender. When I started my lavender seeds, I did two types of seed – English lavender and True Lavender, both of which I purchased new at the same time. After germinating, I had a much higher germination rate on the English lavender.
Cost-Effective Lavender Soil Recipe
Let’s talk about soil and get these sprouts planted.
Our lavender soil mix will contain:
- 1 part perlite
- 1 part sand
- 1 part potting soil
- 1 part compost (optional)
The perlite I found at Lowe’s was less than $4.50. A 50-pound bag of sand was under $2.50. Potting soil is $2-3 depending on what kind you get and the
time of season you purchase.
Other Supplies
- 28 small to medium plastic cups
- Planter tray (to place the cups for transportation)
- Hand shovel
- Bucket
- Measuring container
Planting the Lavender Seedlings
Fill each cup with the mixed soil, leaving about 3/4″ of space at the top and set them in the tray. In this mixture, the perlite and the sand are great for drainage.
Lavender does not need too much nutrition, so the compost is optional. Since lavender is a Mediterranean plant, we want a bit drier soil; however, we do want to keep our seedlings nice and moist at the beginning for the next 8-12 weeks.
Using a tool or your fingers and press a hole in the soil. Gently pick up the sprouts and transfer them to their soil cups. Gently press the soil firmly to set the root. Cover the roots fully and making sure the sprouts are still standing. You can tell by how they’re growing towards the light where the stem.
Carefully pull out the roots attached to the paper towel. You will want to plant the sprouts within, 5 to 10 days so the roots don’t get too buried and attached in the paper towel.
Plant one seedling per cup. Since I had so many seeds germinate, I planted two to three per cup. It really depends on how many germinated how many cups of soil you have for materials. Keep the roots nice and moist as they were in the ziplock bag so they don’t dry out.
After you’ve potted and sprayed them with water, make sure they’re still standing upright toward the light. If they’re laying on the soil, they’ll be less likely to survive.
Cover the tops of the cup with plastic wrap and place in a sunny window, so they can continue to receive good light. Monitor the moisture level over the days
Overview of Lavender Care
Light: lavender needs full sunlight and well-drained soil
Soil: The soil should be low to moderately-fertile with a neutral to alkaline pH (7.0 pH). You can add eggshells while preparing the soil which adds alkalinity as they degrade. You can also add lime.
Space: Lavender grows 1 to 3 feet tall and wide; it’s a shrub and doesn’t require staking
Water: Once established lavender is drought tolerant and doesn’t require frequent watering. Overwatering is a common stress factor
Fertilizer: Lavender does not need much fertilizer, once established.
Lavender Plant Companions
- sage
- mint
- basil
- rosemary
- thyme
- Brussels sprouts
- cabbage
- cauliflower
- broccoli
- celery
Weekly Watering Routine
8-9 Month Update from Germination
Landscaping for Lavender Plants
Tip Before Transplanting
Before transplanting outside, set the plants outside in their cups to harden off and get used to the weather when temperatures are no lower than 40ºF.
Lavender Hardening Update (~5 days)
Here’s an update and some thoughts and tips to consider for transplanting next time. Also, for the long spindly stems, it’s a good idea to trim those back some so they can focus their energy on developing a stronger root system and more branches and leaves.
1 Year (11 month) Update & Plant Companions
The lavender is established really well. The lavender receiving the most sun and warmth from the house is the largest.
How to Propagate (Clone) Lavender Cuttings
Once your lavender shrubs are well-established and have plenty of healthy branch growth, you can snip off some of the new green-stemmed shoots and propagate them in water and/or the loomy soil mixture.
Lavender Propagation (2-month update)
Here’s an update on how the roots were growing after a couple of months in either soil or water.
Perennials Update After Winter (checking on Lavender)
My lavender shrubs got completely eaten off by the rabbits, and I was pretty freaked out about it. Turned out, it was a life lesson in pruning! The shrubs did exceptionally well after winter. Some of the lavender I kept protected inside that did not get pruned did poorly. (0:55 is where I start looking at the lavender)
Lavender Year 2 mid-June Update
The lavender is doing exceptionally and flowering. I start checking lavender at 1:15.
Pruning Lavender before Winter
Early Spring (beginning of May) Update on Lavender Year 3
I start looking at lavender at 0:53.
Lavender Self-seeded Everywhere After Winter!
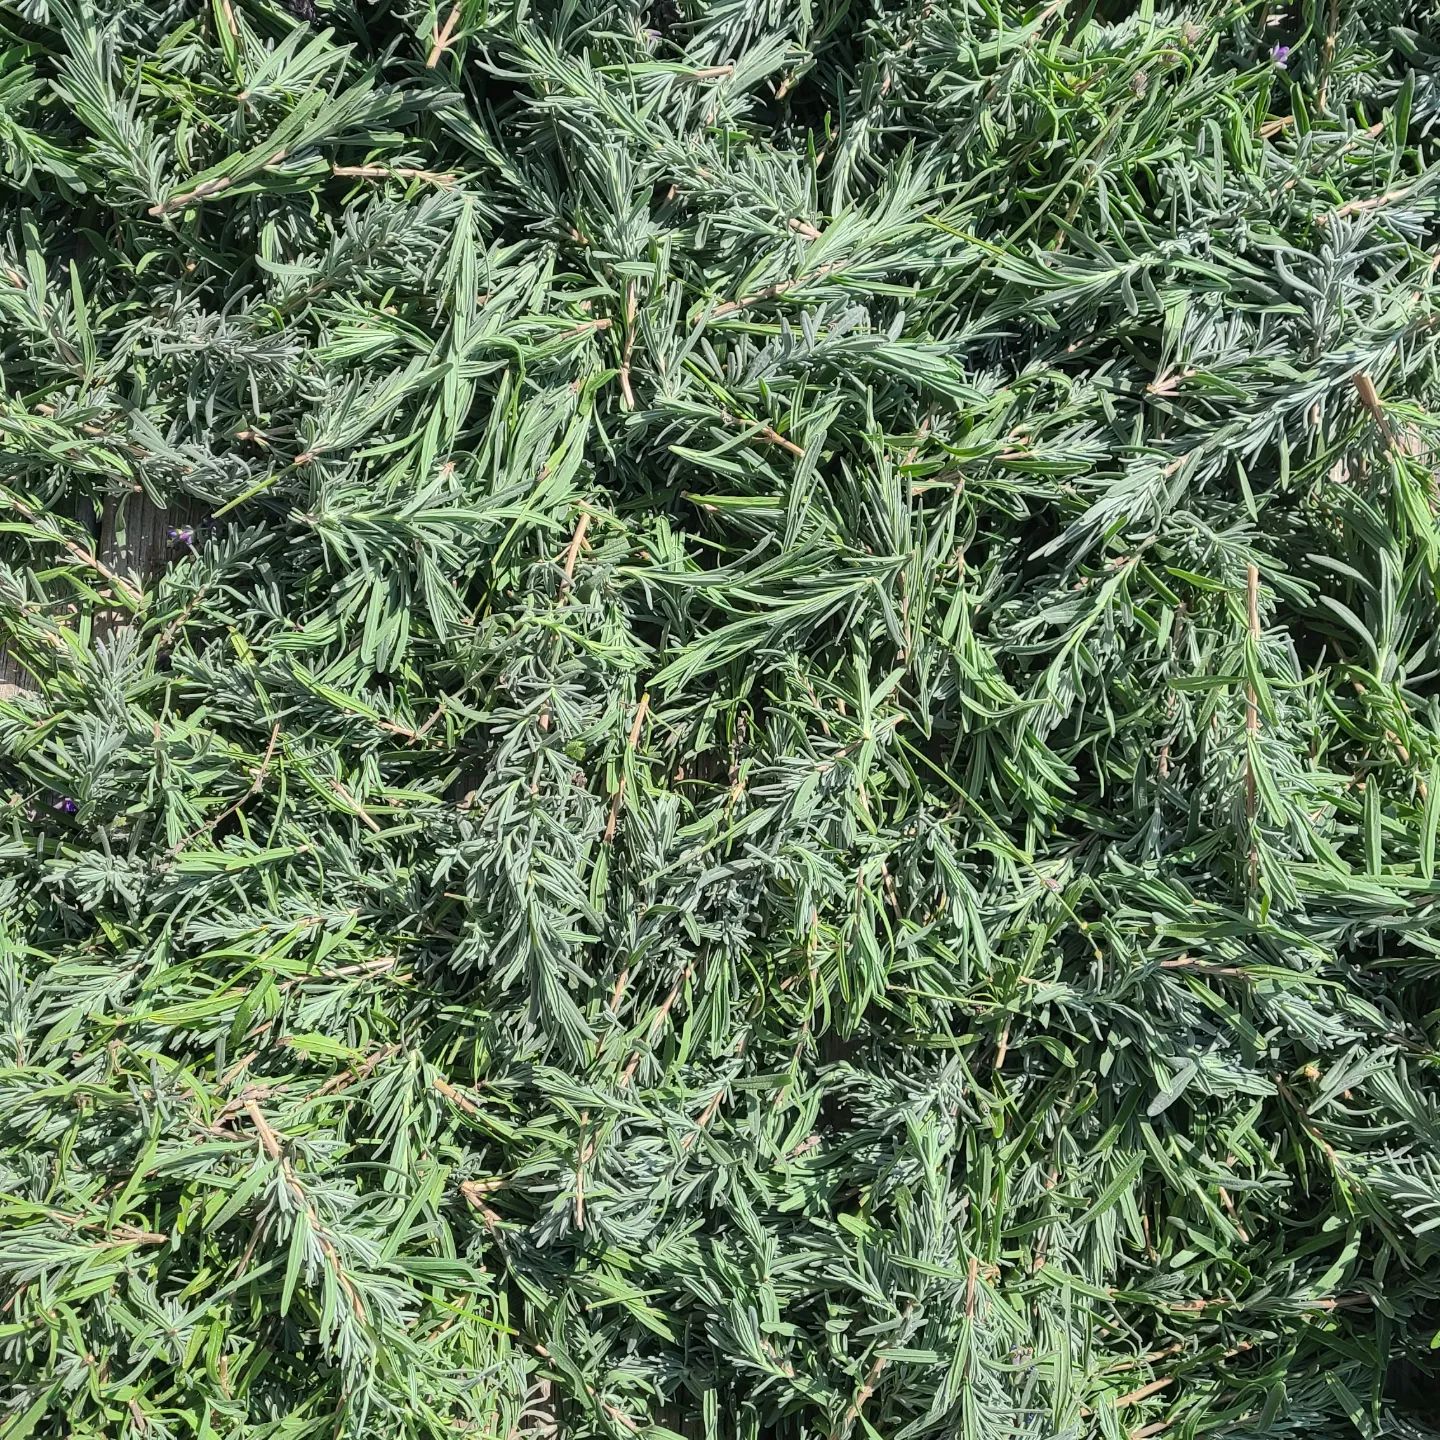
Lavender Year 3 (end of June)

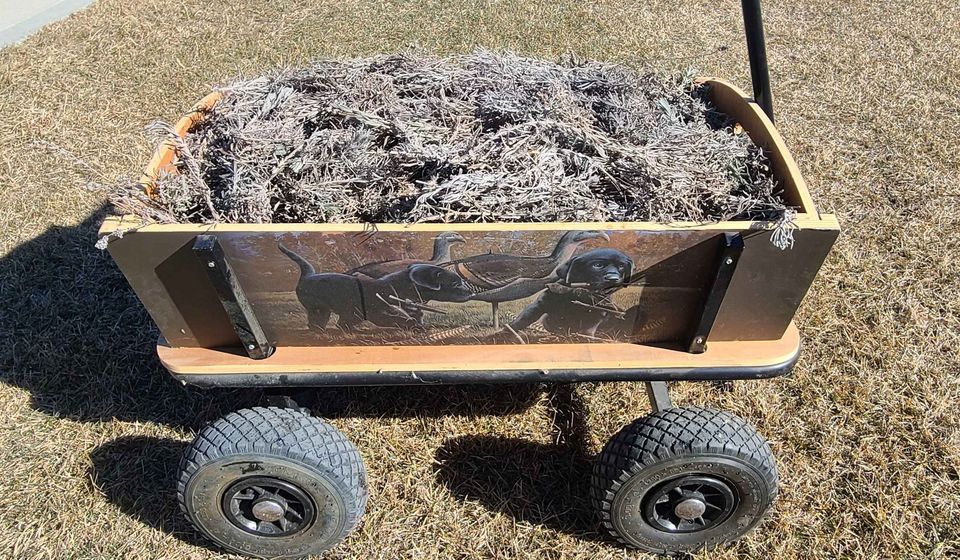
Lavender Harvesting (year 3)
This year I did two separate harvests – one in September and one end of November.
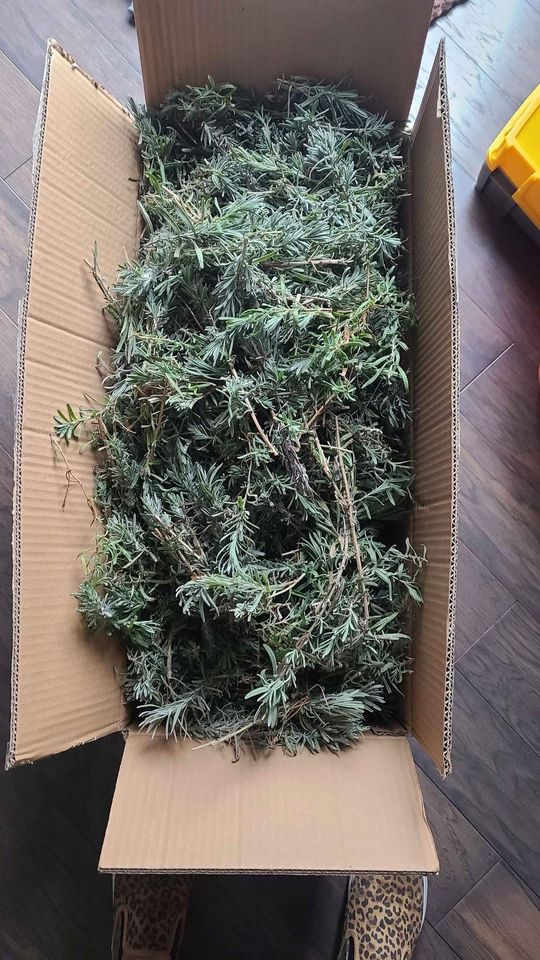
The previous year, I mainly did one harvest and had a ton of dried lavender!